Description:
This help guide explains how to add or update appointment reasons in ManageMyHealth. It’s useful when you want to keep appointment options accurate and relevant for patients and staff. You’ll learn how to access the Appointment Reasons tab, edit existing reasons, and create new ones. By following these steps, you can ensure your appointment lists remain clear, up to date, and aligned with your practice’s needs.
Video Demo:
Steps:
- From the sidebar, select Setup Modules.
- In the navigation menu, choose Appointments.
- Use the arrow icon to expand additional appointment settings.
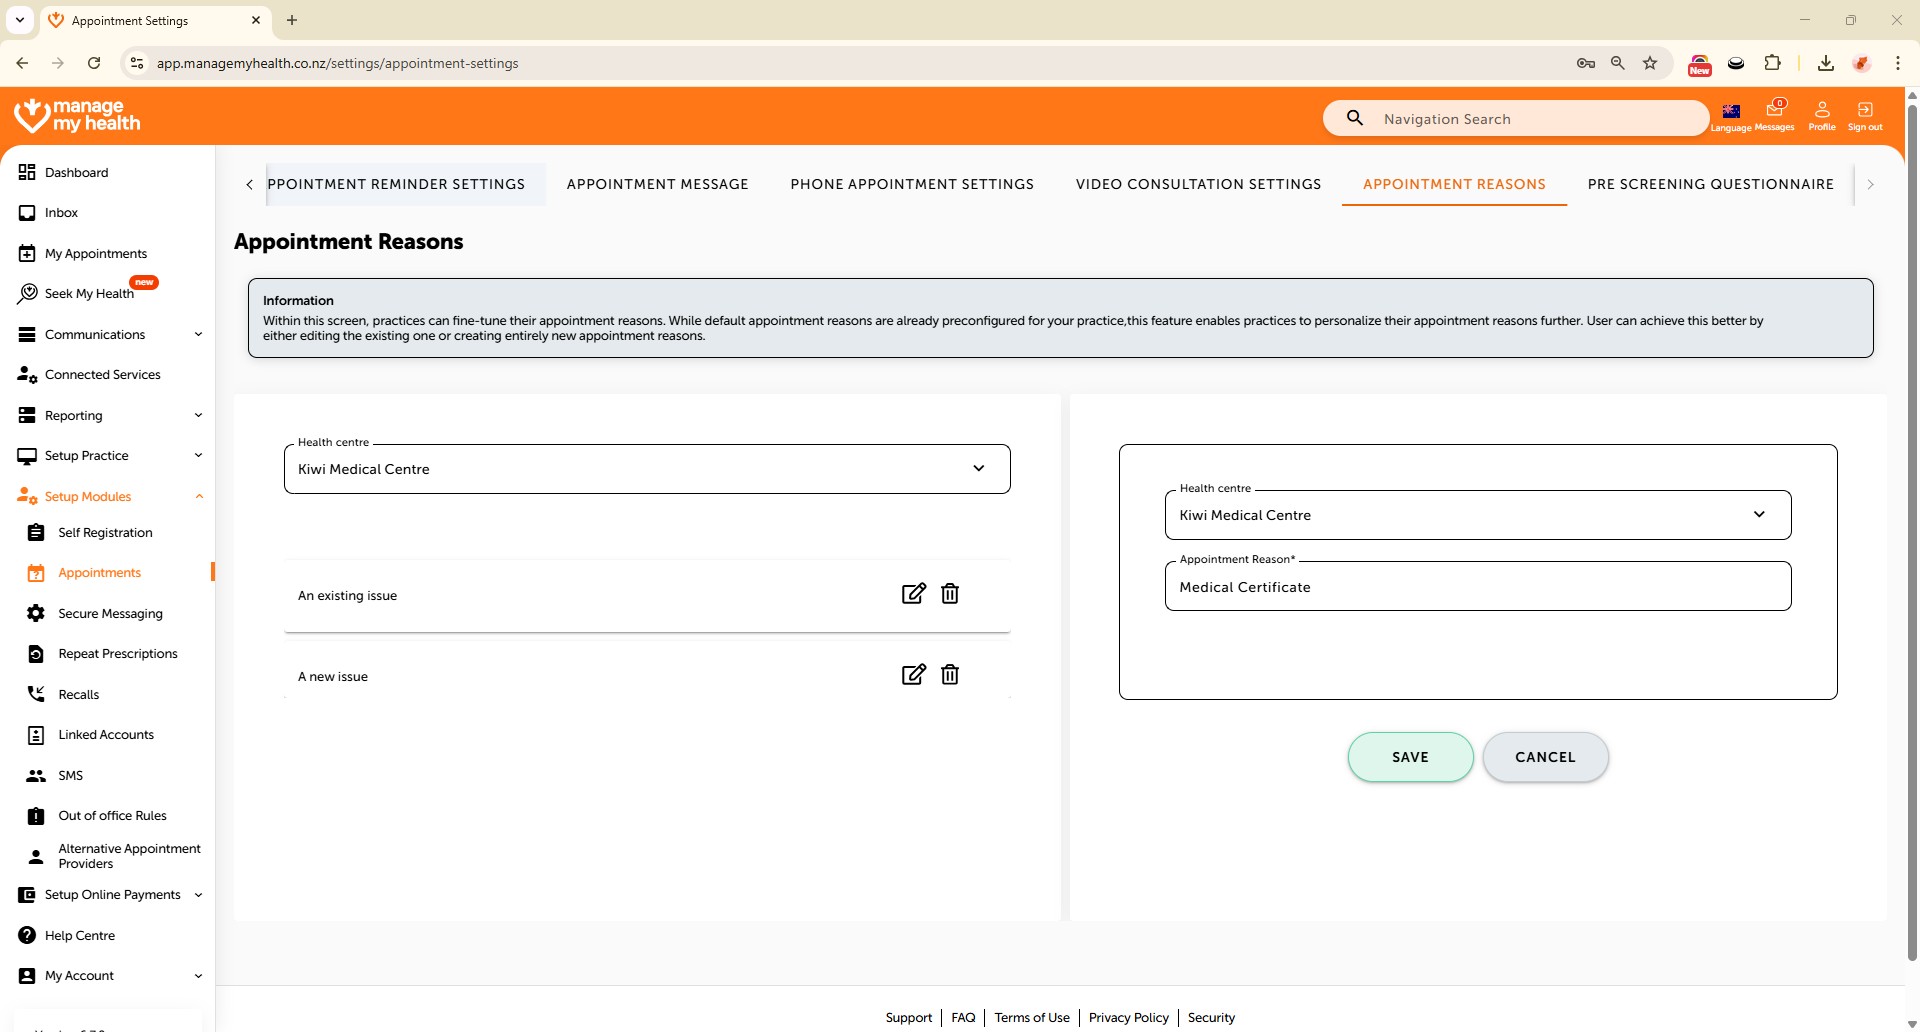
- Click on the “Appointment Reasons” tab to view and manage the list.
- To update an existing reason, click “Edit” next to it.
- Make your changes, then click “Update” to save.
- To add a new reason, click into the Appointment Reason field and type the new reason.
- Click “SAVE” to confirm and apply the addition.