Description:
This help guide explains how to configure secure messaging services and control their visibility in the Patient Portal. It’s useful when you want to set up new services, such as test result enquiries, and define how patients and staff interact with them. You’ll learn how to add service details, set restrictions, configure reply options, and manage response time limits. By following these steps, you can ensure secure messaging services are properly set up, visible in the portal, and aligned with your practice’s policies.
Video Demo:
Steps:
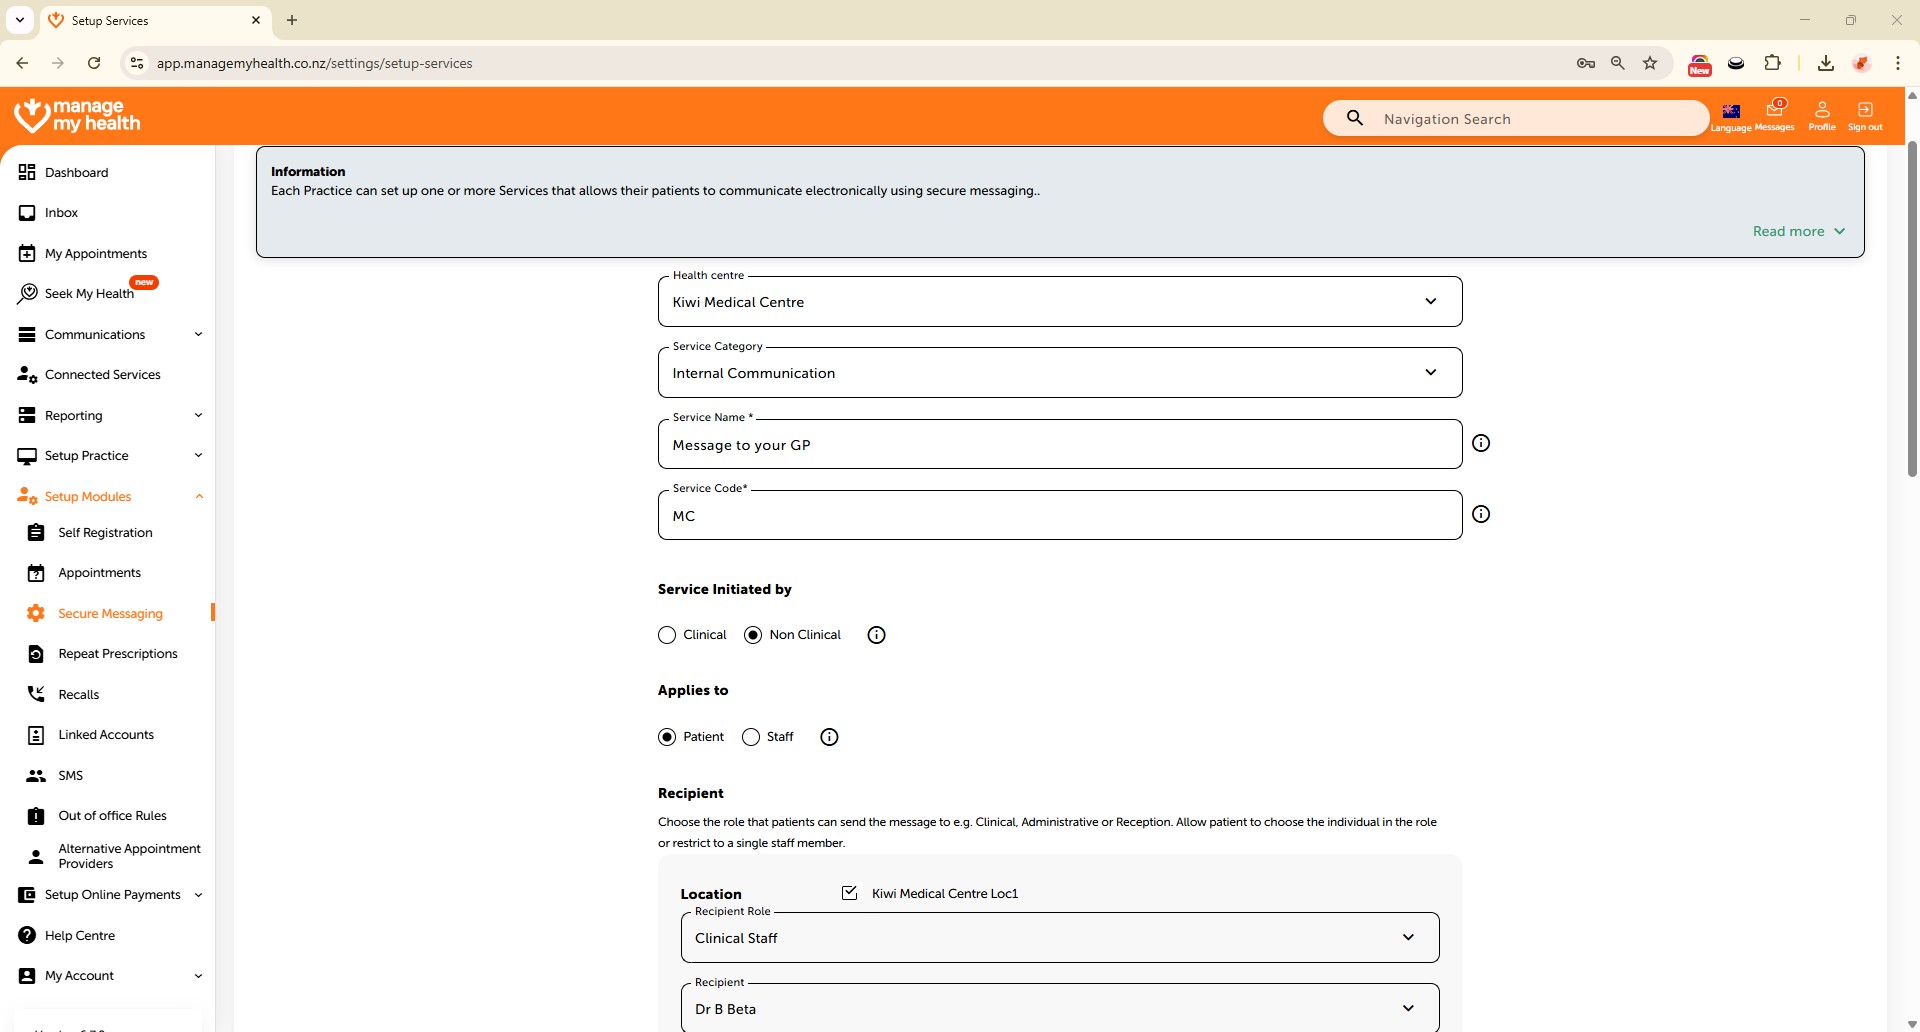
- Navigate to “Setup Modules”, then select “Secure Messaging” from the sidebar.
- Click “ADD NEW SERVICE” to begin the setup.
- From the Service Category dropdown, select “Test Results”, then enter a Service Name (e.g., Lab Result Enquiry Service) and a unique Service Code.
- Under Service Initiated By, select Clinical; under Applies To, select Patient.
- Tick the checkbox for the appropriate Location to enable the service, and select Clinical Staff under Recipient Role Options.
- In Restriction Options, set Restrict to Patient’s Default GP and Restrict Patient to Default Location to Yes. Set Allow Reply from Patients to No.
- Fill in the Description, indicate whether the service Is Chargeable (select No or specify a fee), and add any Terms and Conditions if required.
- To enable response limits, set Message Reply Time Limit to Yes, choose a timeframe (e.g., 3 Months), then click “SAVE” to activate the service.